Waterfall Braid Tutorial
by SHOPIFY API / JUN 10, 2014
Reading Time: 1 Minute
Index

The waterfall braid is a much requested style at the moment, as this braid is so pretty and casual. It works best on highlighted hair, or blonde shades as darker and block colours do not usually show off the style to it’s full extent. The way light is reflected off of blonde and highlighted hair, makes this style really pop out and in this tutorial, I further added some spunk to this look by using the Cliphair 18″ Double Wefted Extensions in Turquoise which you can get over here.
Cliphair has a whole range of different, funky colours, so of course feel free to recreate this look with any shade which appeals to you. If you aren’t too keen on unconventional colours, just go ahead and create this pretty braid with your natural coloured extensions, it will look just as gorgeous.
With regards to products which you will be needed to recreate this look, all you need is:
- a brush,
- a bobby pin,
- two hair ties or rubber bands
- hairspray is optional, and in my case I didn’t use any. However if you have flyaway hair, using some spray to set the style might be a good idea.
I hope you try this hairstyle. Once you see the tutorial, you will realize that it is so easy to create this stylish Waterfall Braid. A lot of people shy away from trying to create this style at home, but in reality, it is super simple and all you need is some patience. And remember, practice makes perfect!
If you have any questions, do not hesitate to leave a comment below, or contact me on one of my social media platforms. I hope you enjoy this tutorial, and stay tuned for my next tutorial if you would like to see how these gorgeous turquoise extensions work with dark hair!
The post Waterfall Braid Tutorial appeared first on Hair Extensions News.
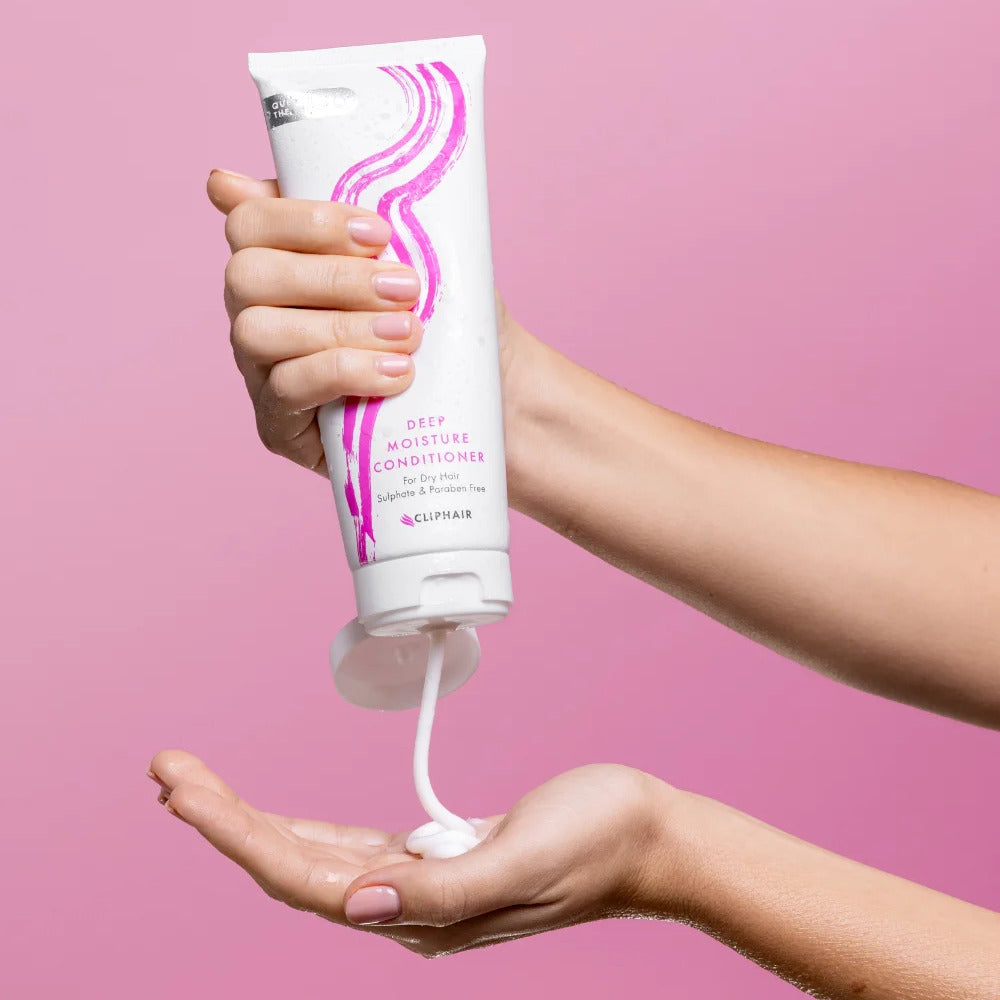
Looking for flawless, salon-worthy hair without breaking the bank? At Cliphair, we’ve got you covered with luxurious clip in hair extensions for quick transformations and permanent hair extensions for long-lasting glam. Extensions require special care and maintenance to preserve their quality, which is why we have all the top-notch hydrating haircare products needed to keep your style on point.
Need the perfect shade? Browse our full range of human hair extensions in over 70 rich, silky shades or check out our FREE Express Color Match Service to ensure a seamless blend every time.


