Top 10 Hair Transformations with Cliphair Extensions
/ JUN 18, 2025
Reading Time: 8 Minutes
Index
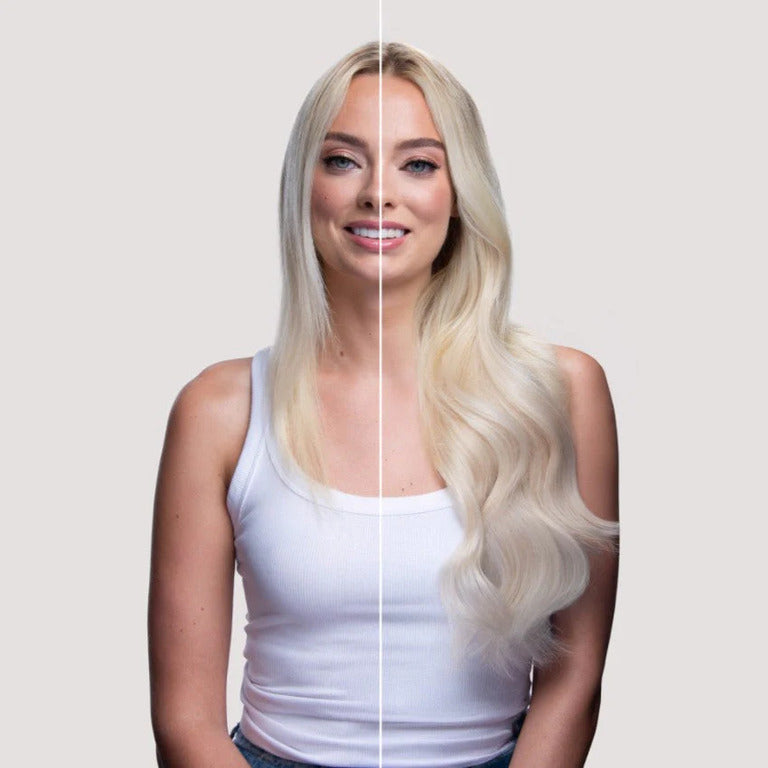
Hair isn’t just something we style; it’s part of who we are. Dreaming of extra volume, enviable length, or a bold new colour doesn’t always feel within reach, whether it’s due to a lack of confidence, affordability, or simply not knowing quite where to start, but Cliphair extensions make it possible to transform your look instantly and easily.
We’ve gathered ten jaw-dropping real-life transformations and hair extensions before and afters from our amazing customers and clients to show just how versatile and impactful our extensions can be. From everyday glow-ups to once-in-a-lifetime bridal makeovers, these stories show that no hair is too ambitious when you have the right tools – or the right brand by your side.
Before we get into it, you can also explore our full Lookbook for even more real-life magic, or book a free consultation with one of our hair extension experts to find your perfect match!
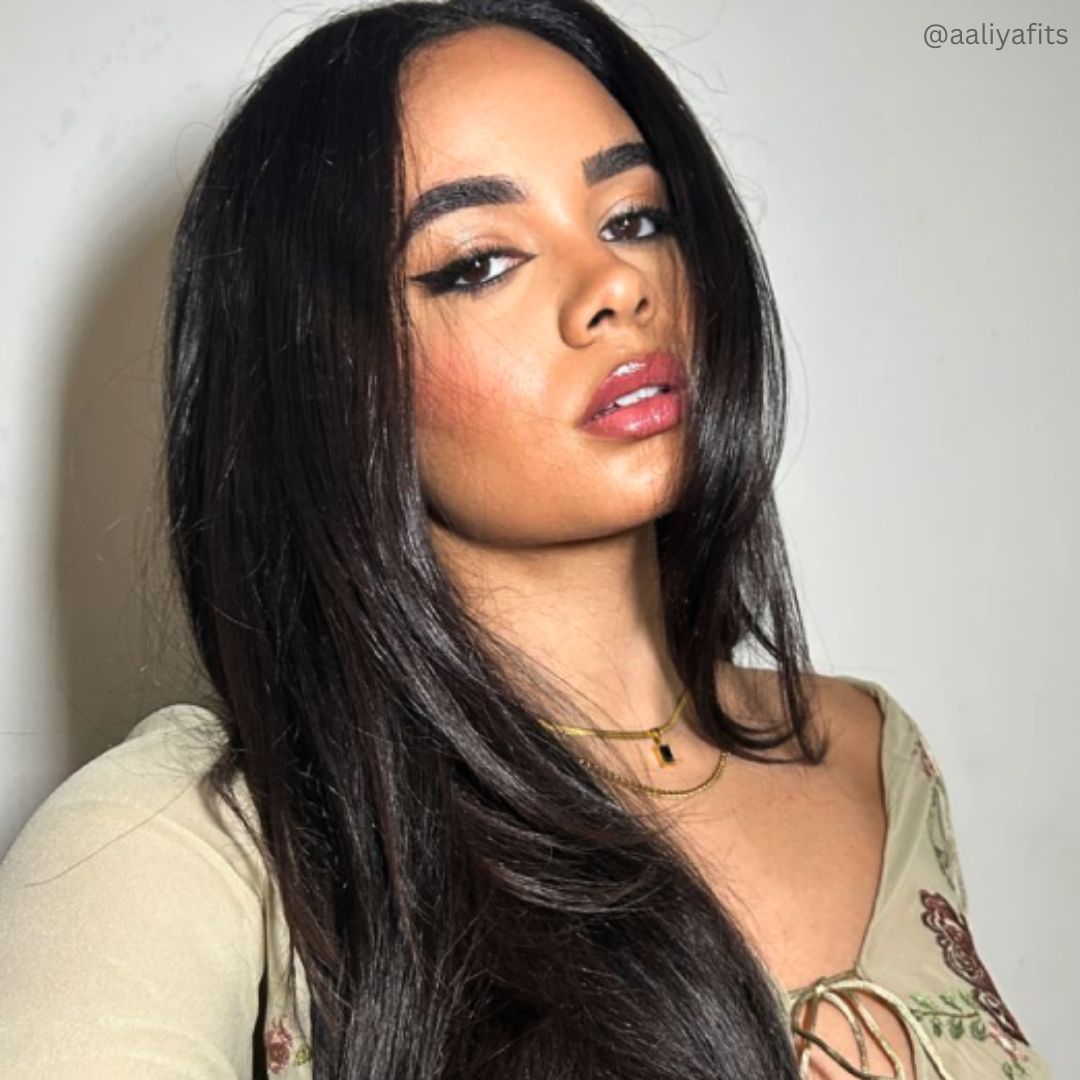
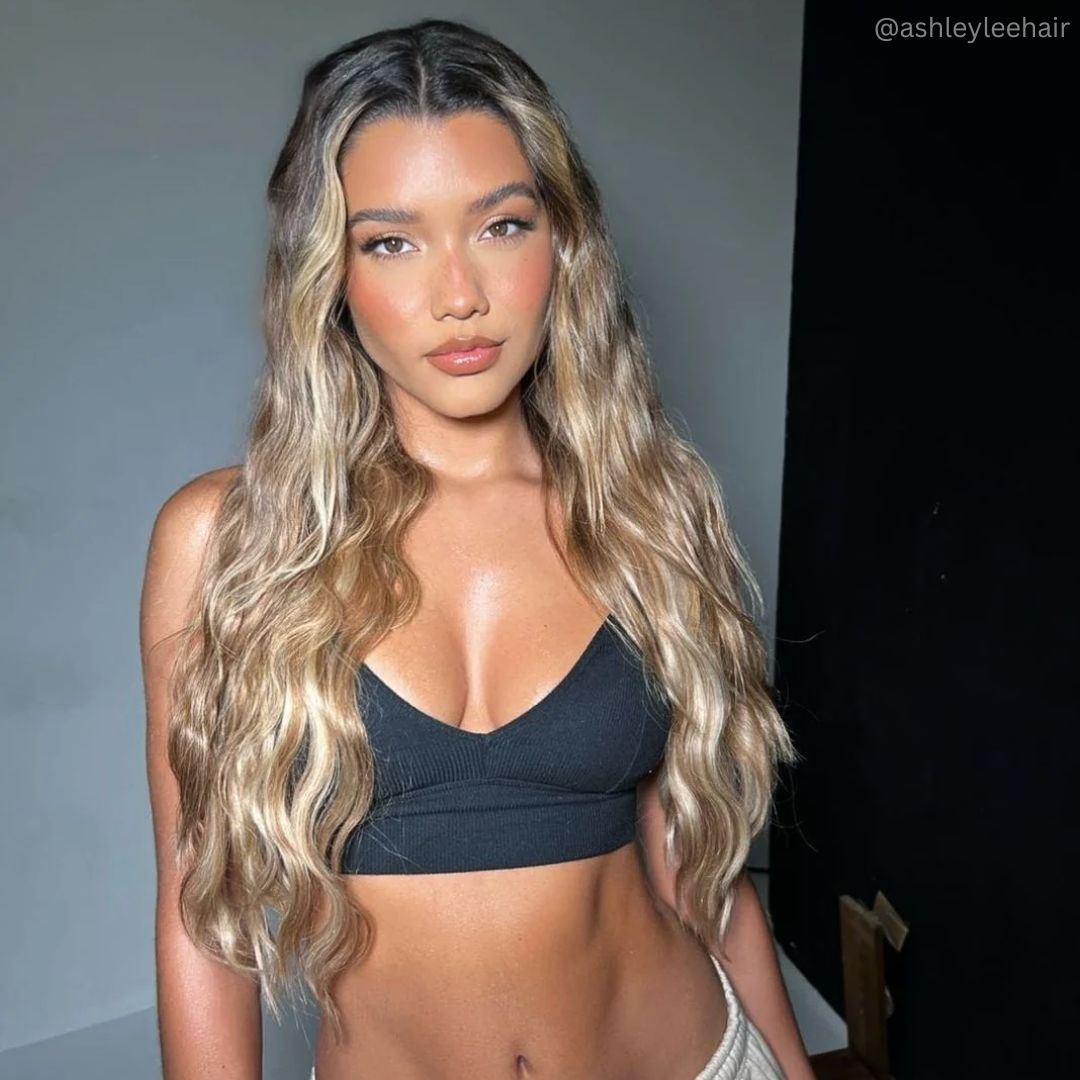
All of the below looks are made from 100% Remy clip in hair extensions and permanent extensions worn by our loyal customers who have kindly submitted Cliphair reviews, along with award-winning hairstyles crafted by salon professionals. Without further ado, here’s 10 gorgeous Cliphair transformations, both dramatic and understated, for you to get inspired by.
Cliphair Human Hair Extensions: Top 10 Transformations
1. Volume Boost Transformation
First up, Ria adds noticeable volume to her locks with our 18” Ultra Volume Clip Ins in the shade Dark Brown. Not only does this kind of transformation create added confidence, fullness, and styling flexibility, it also looks exceptional with dramatic blowouts and occasion hairstyles when you feel like going the extra mile for weddings, high end events, or even nights out.
2. Thickness Boost Makeover
If you’re someone who has thin or fine hair, adding a little bit of a thickness boost can be the first step in a serious hair makeover. Professional hairstylist Gemma Taylor creates a glam wave using our clip in Quad Weft. These one-piece extensions can create a visibly thicker and healthier-looking mane, changing your overall look in a natural and subtle way.
3. Dramatic Length Glow-Up
From medium-length hair to mermaid-worthy locks! Ka stuns in our 26” Nano Ring extensions in the shade Light Chestnut Brown. This dramatic glow up in length is the ultimate thin hair extensions before and after, and is great for anyone with thin, shorter hair that’s craving an extreme transformation with salon level results. Hair this long and luscious is best when silky straight or paired with loose, beachy waves!
4. Thickening Short Hair
If long locks aren’t really your thing, a subtle length transformation that blends seamlessly with natural hair might be more up your street. Pro stylist Kerry-Ann Buckle crafts a stunning, blunt ‘boy’ bob with face-framing pieces using our Nano Rings in 3 custom blended shades. Believe it or not, hair extensions for short hair are extremely popular, and are often used to thicken up shorter tresses to give them a fuller edge for a sharp finish. Our clip in and permanent hair extensions can also be applied to short and shoulder length hair! Realism, believability, and everyday wearability are just as important when wearing extensions, so go with whatever makes you feel your most authentic self.
5. Bridal Makeover: Dream Hair Come True
Your dream day deserves dream hair! Our gorgeous customer Mika looks absolutely breathtaking wearing our Remy Royale Seamless Clip ins in the shade Silver Sand. If you’re a wedding guest or bride-to-be, you can explore our full 2025 Bridal Shop today and browse lookbooks, bundles, styling must-haves and so much more!

“I recently purchased hair extensions from Cliphair for my wedding, and I couldn't be happier with the product! These clip-in hair extensions were absolutely perfect in every way. From the moment I received them, I was impressed by their quality. They were incredibly lightweight, making them comfortable to wear throughout my wedding day. My hairdresser was in love with the extensions! Equally impressed with how well they blended with my natural hair. The colour match was spot-on, and the extensions felt unbelievably soft to the touch.
The real test came the next day during our photoshoot by the sea. Despite the salty air and humidity, the extensions held up beautifully. After a dip in the sea, I washed them, and they remained just as soft and glowing as before. The quality of these extensions is truly remarkable. Overall, I loved this product and found it to be worth every penny. If you're looking for high-quality, natural-looking hair extensions that can withstand various conditions while still looking fabulous, Cliphair is the way to go! Highly recommended!” – Mika N.
6. Postpartum Hair Recovery Journey

If you’ve just had a baby and are on your post-partum recovery journey, hair thinning or hair loss is a major problem that unfortunately can be hard to ignore. That’s why so many women turn to us for a confidence-boosting solution. Our Double Weft Clip In Extensions gave Mariana the transformation she needed in order to feel like herself again. If you’re a new mum, clip ins are a quick and easy way to make you feel more put together, helping you to tackle the days, weeks and months ahead in style with zero damage and zero fuss!
“It's been a long time since I loved my hair, being postpartum my hair isn't in a good condition so I got these extensions and am so happy with the quality! No shedding and the colour blended amazingly. I felt fabulous for the first time since being a mum. Thanks Cliphair!” – Mariana P.
7. Natural Hair Texture Enhancement

Our Curly Clip In Extensions are designed to enhance your curls with natural looking volume and added definition. Sophia shows off her curls in the shade Medium Brown. These clip ins are all about texture-blending and empowerment!
“I love them, so perfect! I chose these extensions in the longest length so they’re more for length and not volume. If you want extensions for extra volume as well than choose the curly clip ins in a shorter length. I am going to get shorter ones so I can add even more volume. The curls are beautiful, the quality is really good and the extensions look great!” – Sophia P.
8. First-Time Extension User Experience
If you’re a first-time extension user or haven’t quite made the leap into buying them yet, our customer Jo should be the one to convince you with this sun-kissed custom mix of Ash brown, Dark Blonde and Golden Blonde. Whether you opt for clip in extensions or permanent extensions, all of our products are made from high quality 100% Remy human hair and can be easily applied at home or by a salon professional.

“Bought nano bond extensions for the first time and had them fitted and they are by far the silkiest, most beautiful hair extensions I have ever seen. My before and after pictures show how amazing look. I bought 1 pack of Ash Brown, 1 pack of Dark Blonde and 1 pack of Golden Blonde for a custom mix. Absolutely gorgeous!”- Jo W.
9. Professional Extensions for a Sleek Finish
You can achieve longer, fuller hair using our wide variety of professional hair extensions. Natasha Chenery styles this ultra glam look on her client using our Remy Royale Weave Hair Extensions in the shade Jet Black. Our weave extensions are designed to be fitted quickly and easily with multiple application methods to suit your needs. Weaves are great for adding length, thickness and a silky, salon-quality finish. Perfect for a discreet and long-lasting hair transformation that lasts for weeks on end!
10. Cliphair Icon: Length, Volume and Colour Transformation
Our Remy hair extensions have multiple benefits that go beyond your average length and volume enhancement. We offer a wide range of shades for custom blends, extensions suited for all hair types, and even a free colour match service to help you find your perfect match. Our customer Tasmyn takes us through her extensive hair journey, and how our permanent hair extensions have completely revitalised her confidence.
“I’ve been wearing hair extensions for as long as I can remember and I can honestly say these are BY FAR the best ones I’ve had yet (and I’m constantly telling everyone the same thing). I’ve been three different colours recently and each shade has honestly been amazing. First I was cherry red, which everyone commented on how lovely the colour was, then I moved to a darker red #99 which is also a lovely rich colour and recently I fancied a massive change and now I’m #6/#27 the ginger blonde range they have and it’s my favourite of all. I bought a set of clip in and a weft just so I can add as much volume as I want. They quality of them last so well. If you’re thinking of buying them, DO IT! won’t regret it.” - Tasmyn G.
From natural tones to funky shades, there's something for everyone. We provide dedicated customer support, top-up pieces, and a full spectrum of lengths, including both shorter and extra-long extensions, setting us apart from conventional hair extension brands. Plus, with endless educational resources, lookbooks, tutorials, hair inspiration, and expert tips, you'll have everything you need to transform your look and regain confidence in your hair!
Want to be featured next? Submit your transformation for a chance to shine on our socials!
Conclusion:
Whether you're after subtle volume or a total transformation, Cliphair extensions empower you to express your style without limits. If one of these stories sparked an idea or reminded you it’s time for a change, you can browse our full range of hair extensions today and discover what’s possible!
Bridal beauty on your mind? If Cliphair was part of your special day, we’d love to hear your story! Share your bridal transformation with us and inspire other brides-to-be!
Finally: don’t miss out on our latest deals! Check out our Offers and find a Cliphair discount code to save on your next transformation. With Cliphair, it’s not just about hair, it’s about your story.